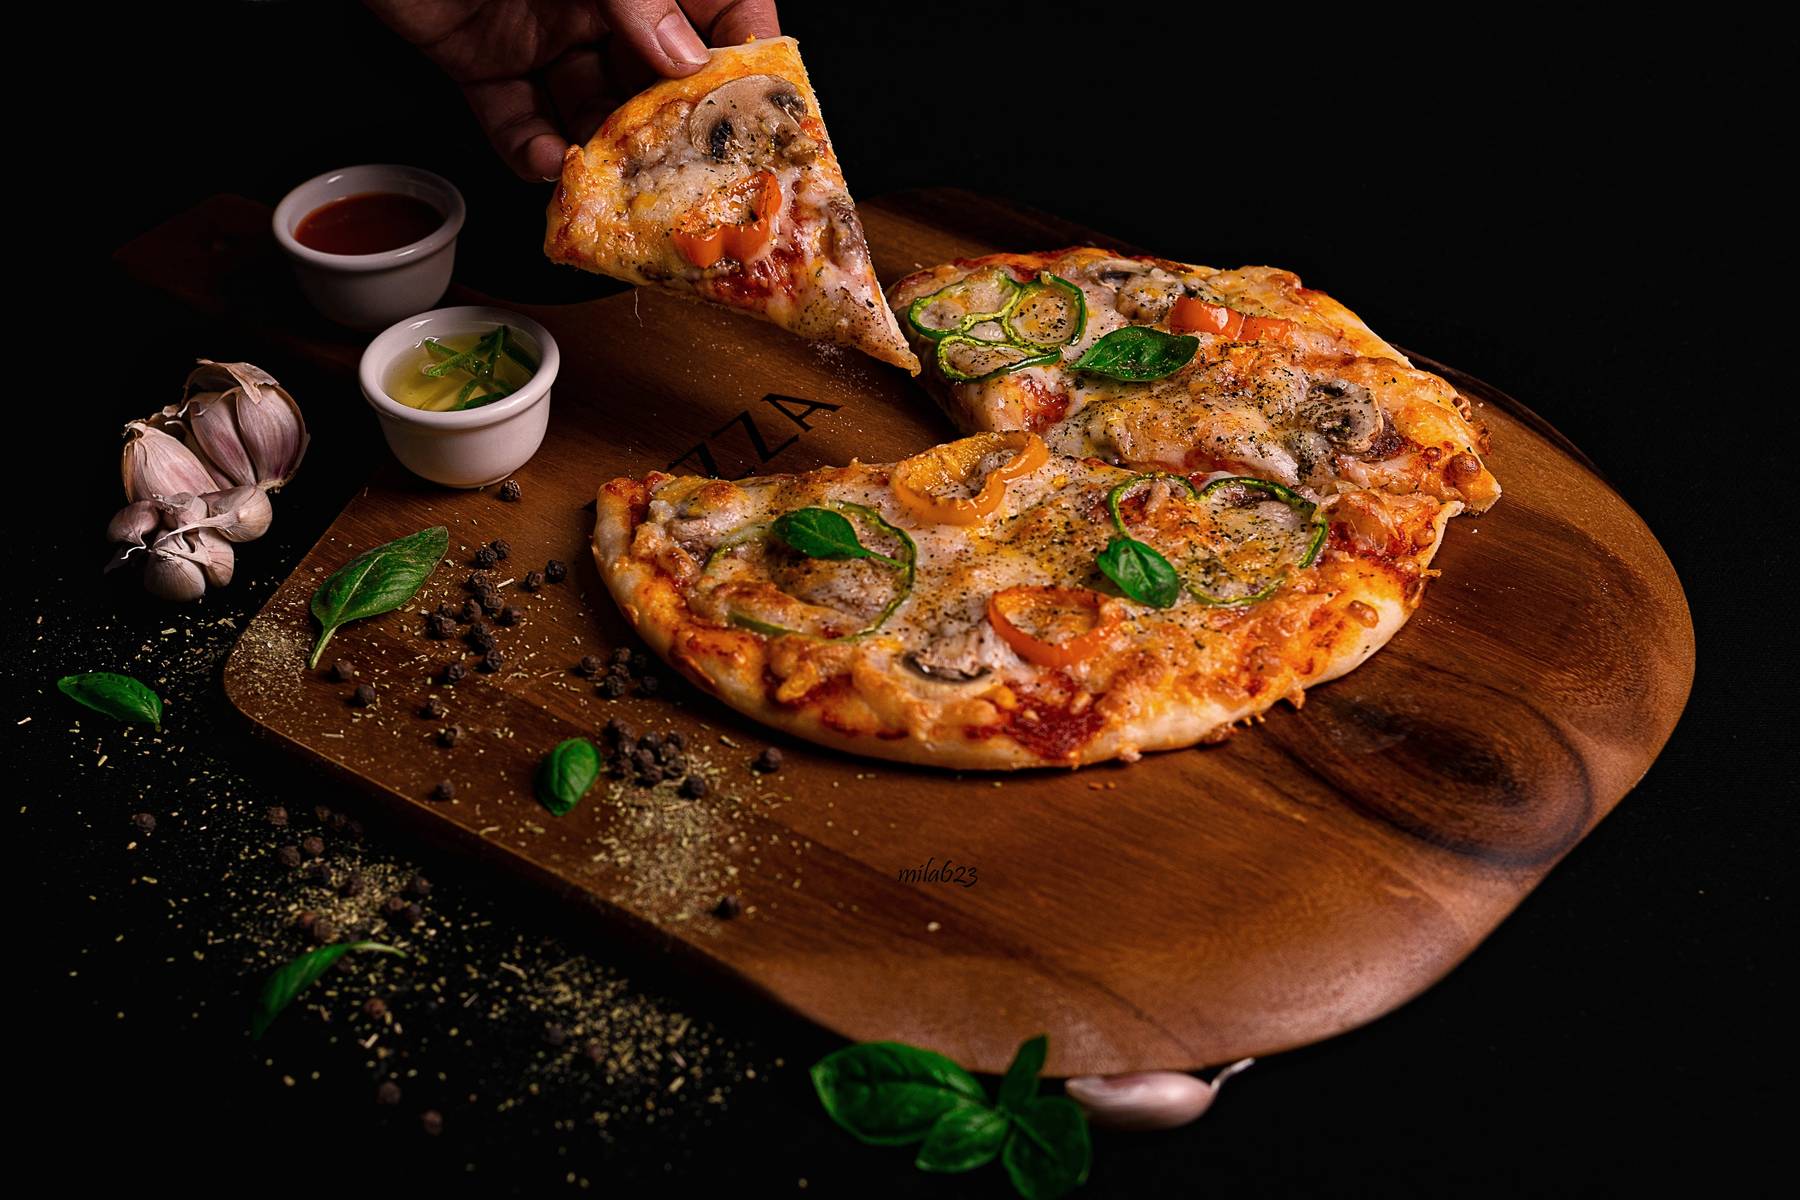
All of us, at least once in our lives, have thought about trying to makepizza at home.For an evening with friends or a family dinner, pizza always manages to please all palates. The good news is that, with a little practice and the right tips, you too can become a master pizza maker in your own kitchen!
Thepizza dough is a blank canvas ready to accommodate your imagination: flour, water, yeast, a pinch of salt is all you'll need to create your base. But don't let their apparent simplicity fool you: the difficulty lies in the way you combine them and work them together to turn them into an elastic, fluffy dough, ready to puff up in the oven and become that crispy on the outside and soft on the inside base we all love
With a little patience you'll find that making pizza dough at home is not only incredibly rewarding, but can also become a time of pure enjoyment and sharing with the people you love. So, are you ready to dive into the wonderful world of pizza dough? Let's get started!
DIRECT DOUGH FOR PIZZA: WHAT IS IT?
The direct pizza dough is a preparation technique that involves processing all ingredients in one step and is often preferred because of its simplicity and relatively short preparation time. The main characteristics of this method are:

- Simplicity of preparation. Direct dough requires only one processing step, where all ingredients are mixed together following a precise order.This makes it easier and faster to prepare than indirect methods that have multiple steps.
- Shorter rising times. Although rising times may vary, direct dough tends to take less time to rise than indirect methods.Read our article dedicated to rising!"
- Digestibility. Although indirect methods are often praised for their digestibility, direct dough, if handled properly with proper rising times and the use of quality flours, can be just as digestible.
- Less yeast. Even though indirect methods may require less yeast, direct dough can still be prepared with moderate amounts of yeast, contributing to good leavening without excess. Convenience for pizzeria production. For pizzerias that need to handle large volumes of dough and require efficient production, direct dough may be more convenient and manageable.
INGREDIENTS FOR MAKING PIZZA (recipe for 4\5 pizzas)
- 500 g 300W flour (strong)
- 0.5/0.6 g fresh brewer's yeast
- 300 ml water (60% based on flour weight)
- 3 ml extra-virgin olive oil
- 10 g salt
PROCEDURE (with kneading machine)
- Pour the 500g of flour into the mixer.
- Crush the yeast into the flour: knead to oxygenate the flour and to mix the yeast.
- Pour 80 percent of the total water into the bowl, flush and slowly so that the dough absorbs the water well.
- When there is no longer flour at the bottom of the bowl, start pouring the salt into the dough.
- Doing this, increase the speed and pour the remaining water, always flush. At 2/3 minutes from the end add the oil.
- When the dough is smooth and homogeneous it is ready to be worked. Remember that the temperature is very important for a good pizza, it should be between 22° and 24°.
- Form a ball with the dough and place in a lightly oiled bowl. Cover with a damp cloth or plastic wrap and let rise in a warm, draft-free place for about 2 hours, or until doubled in volume.
- After rising, divide the dough into 4 equal pieces.
- On a lightly floured surface, roll out each piece of dough with your hands or a rolling pin, forming disks.
- Cast the pizzas to your liking and bake them in a preheated oven at 250°C for about 10 to 15 minutes (or until the edges are golden and crisp). To help you strain the pizzas without breaking them, you can use ahousehold-use baking shovel.

PROCEDURE (without kneading machine)
- In a small bowl dissolve the brewer's yeast in 50 ml of water (taken from the total) and let it stand for about 10 minutes.
- Pour the flour into a large bowl. Make a hole in the center and pour in the dissolved yeast.
- Start adding the rest of the water in a trickle, stirring with one hand or a wooden spoon. Do not add all the water right away! Evaluate the consistency of the dough.
- When the dough starts to form, add the salt and extra virgin olive oil.
- Transfer the dough to a lightly floured surface and start kneading with your hands for about 10 to 15 minutes: the dough should be smooth and elastic.
- Form a ball with the dough and place it in a lightly oiled bowl. Cover with a damp cloth or plastic wrap and let rise in a warm, draft-free place for about 2 hours (or until doubled in volume).
- After rising, divide the dough into 4 equal parts.
- On a lightly floured surface, roll out each piece of dough with your hands or a rolling pin, forming disks.
- Cast the pizzas to your liking and bake them in a preheated oven at 250°C for about 10 to 15 minutes (or until the edges turn golden and crisp). To help you strain the pizzas without breaking them, you can use a household-use baking paddle.
Following these steps will result inhomemade pizzas that are fluffy and tasty, perfect for a night out with friends! And now, with our hands still floured, we say goodbye: but before we go we ask you to share with us some photos of your creations, we are always curious to see your masterpieces. Enjoy your meal and see you on the next culinary adventure!


