


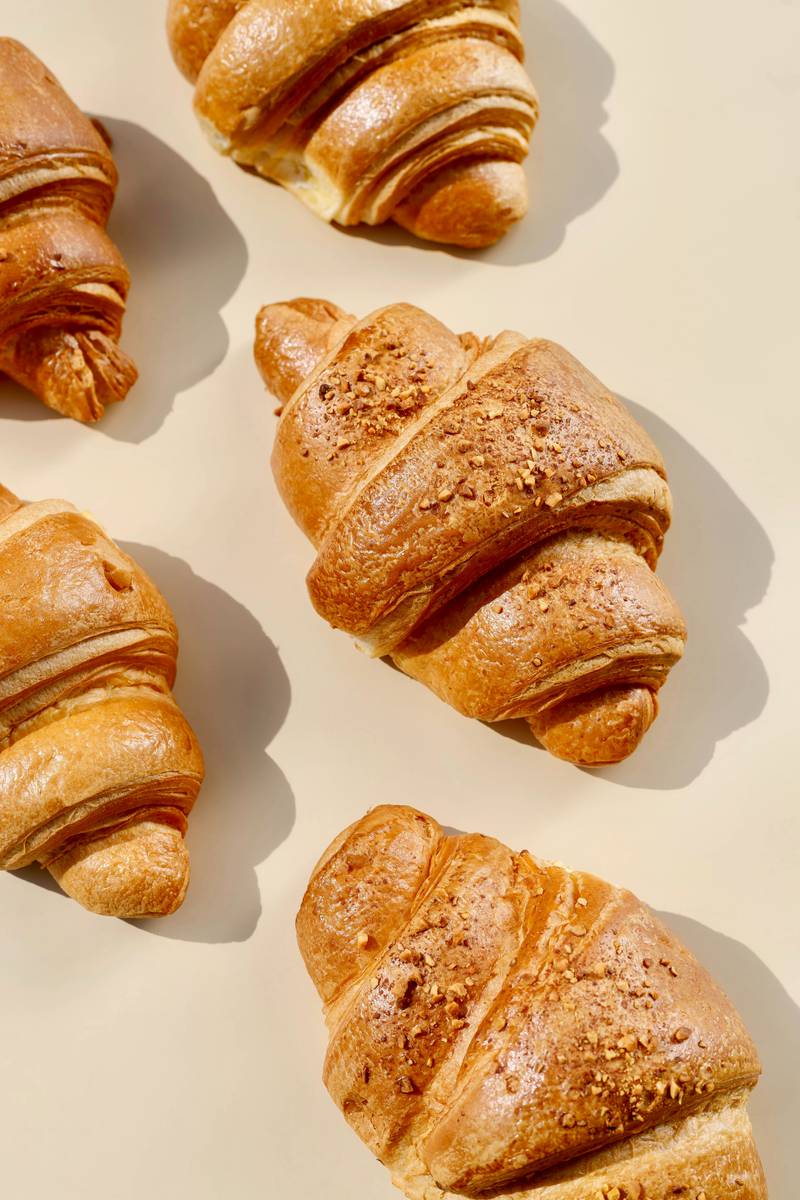
Let yourself be wrapped in the unmistakable aroma of freshly baked brioches: soft and fragrant, to dunk in your milk or in the foam of your steaming cappuccino, they are the best way to start the day off right.
Making brioches at home takes time and patience, but it is a creative process that rewards you at every step: the thrill of watching the dough rise, shaping the brioches with your own hands and waiting impatiently for them to turn golden in the oven. And then, at last, the pleasure of savouring that first bite, feeling the crisp crust break under your teeth to reveal the soft, fragrant inside.
In this article we will guide you step by step through the recipe for homemade brioches. It does not matter whether you are a beginner in the kitchen or an experienced cook: we promise that in the end you will be able to create delicious brioches. Let's get ready for this culinary adventure!

INGREDIENTS FOR MAKING BRIOCHES
- 500gr. flour W 300
- 105gr. egg white
- 95gr. yolk*
- 20gr yeast
- 100gr. butter at 20°
- 90gr. sugar
- 8gr. acacia honey
- 5gr. salt
- 45gr. fresh whole milk
- Vanilla as flavouring
BRIOCHES RECIPE: METHOD
- Pour the milk, previously brought to 20–22 °C, into a stand mixer, add the yeast, the sugar, the honey and the vanilla, and start kneading. If you do not have a stand mixer, pour the ingredients into a bowl and then start kneading until the ingredients are well combined.
- Keeping the mixture moving, add the yolks, the egg white and the salt.
- Cut the butter into cubes, bring it to 20 °C and add it to your dough a little at a time.
- Turn the dough out of the bowl, place it on a flat surface and work it until you obtain a smooth dough.
- Take a lightly buttered bowl, place your ball of dough inside it, cover it with cling film and leave it to rise in a cool environment (15–16 °C) for about 8 h, or in a warm environment (25 °C) for 3–4 h.
6. Once the rising is over, scatter some flour over a work surface, take your dough and roll it out to a thickness of 5 mm. With a cutting wheel, cut out triangles of equal size (about 5 cm at the base and 10 cm high). Alternatively, you can use our croissant-cutting roller: with this tool you can cut up to three perfectly equal triangles at a time.
7. Roll up your croissants starting from the base of the triangle: if you want to fill your homemade brioches, spread a thin layer of jam, cream or chocolate over the dough triangles before rolling them up. Glaze with a beaten egg.
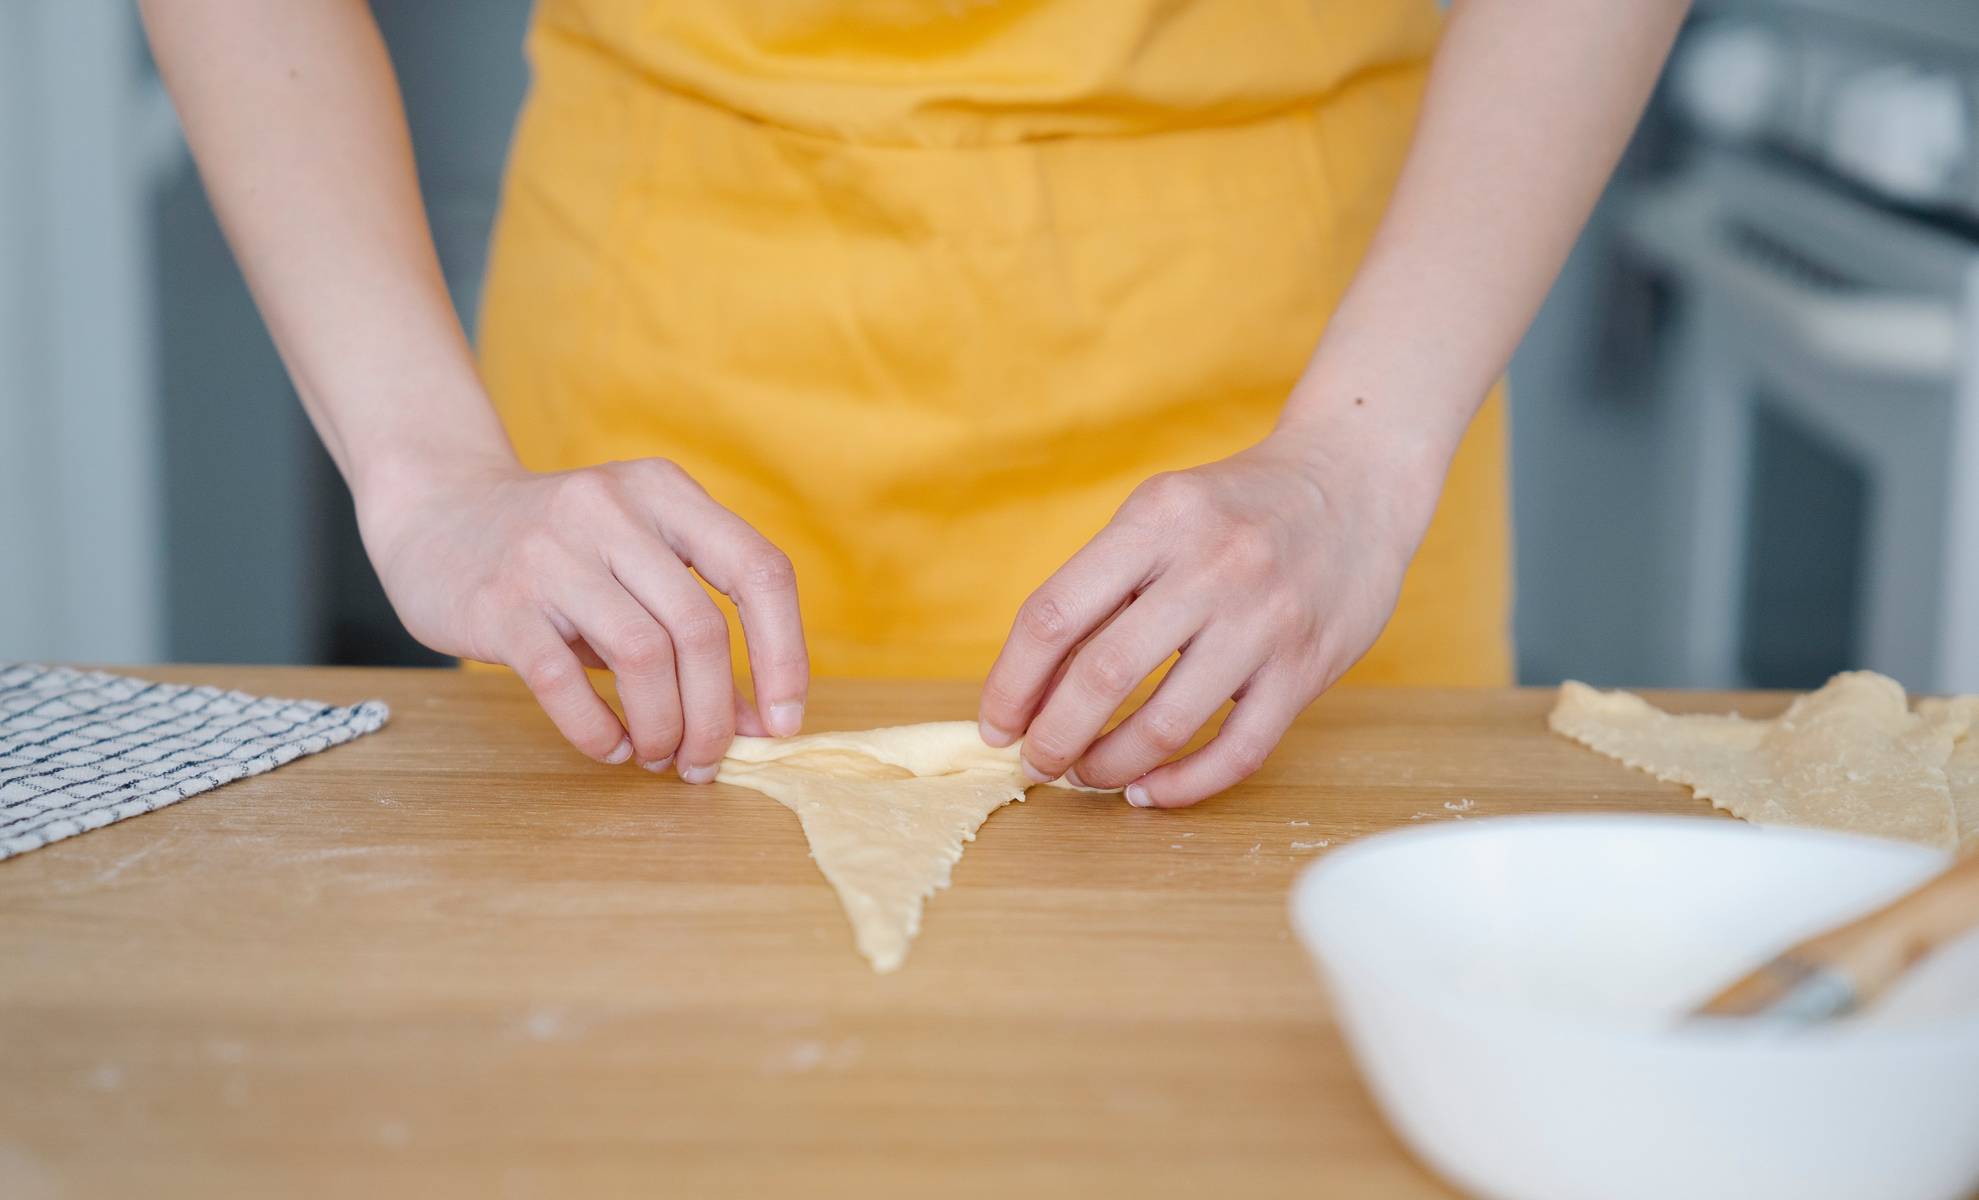
8. Place your croissants on a baking tray lined with baking paper, cover them with cling film and leave them to rise until they double in volume.
9. Heat the oven, glaze a second time with egg or milk, and bake at 180 °C for 15 min in a fan oven or at 180 °C for 20 min in a conventional oven. Once they are nicely golden, your homemade brioches will be ready to serve!
Dust with icing sugar, make a good cappuccino and serve with a big smile to start your day full of energy!
CURIOSITIES ABOUT BRIOCHES
The brioche is a leavened sweet bread of French origin. Its history dates back to the time of Louis XIV, when bakers began making brioche with ever greater amounts of butter, an ingredient widely used in the northern half of France. The first recipe for one of its best-known variants, the brioche à tête or brioche parisienne, dates from 1742.
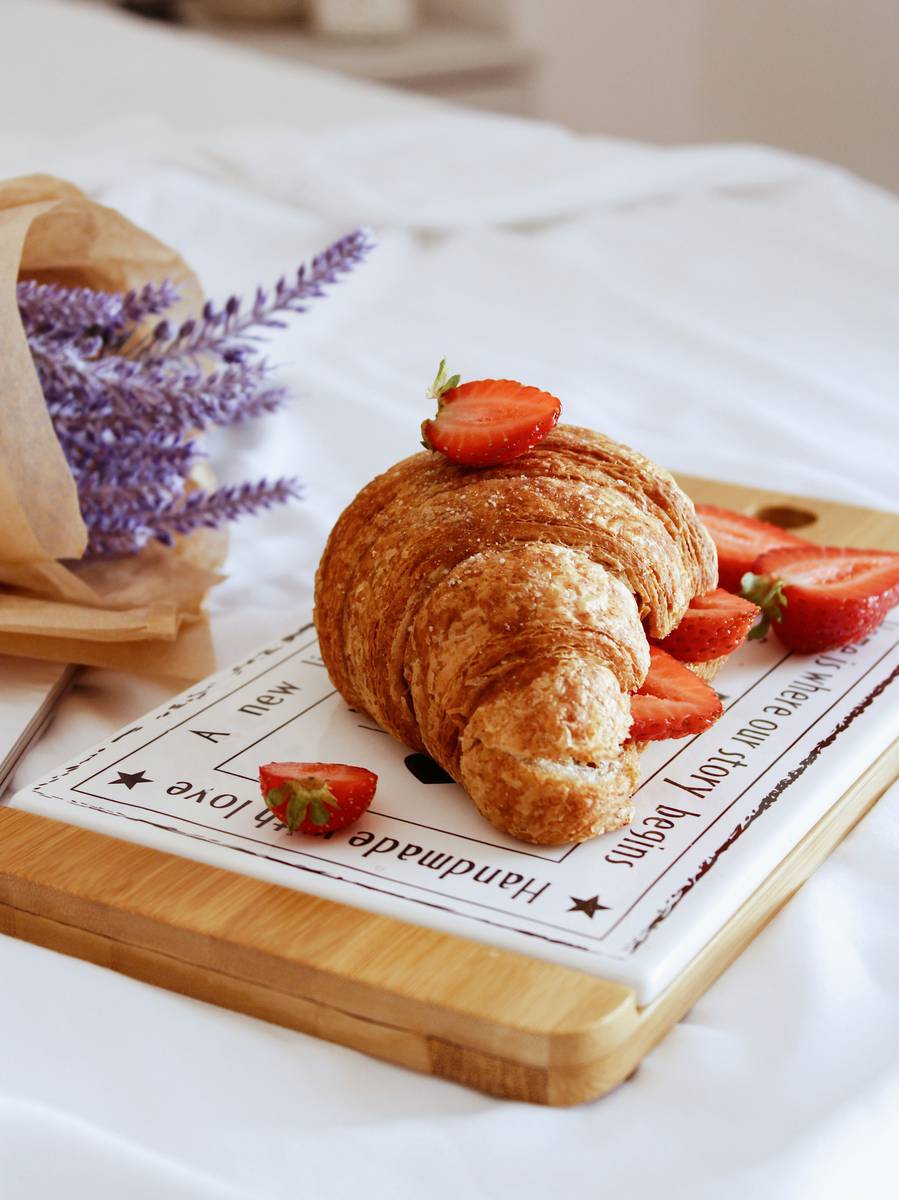
In Italy, the brioche has taken on different shapes and names depending on the region. In Sicily, for example, it is known as brioscia cu tuppu, a treat that, according to legend, is said to have originated in a noble Sicilian family with many daughters. The family's pastry chef is said to have created this soft delight inspired by the female bosom. Today, in many Italian regions, brioche and cornetto are essentially the same thing. Italy's original recipe for the cornetto, however, was slightly different from the one we know today: the cornetto, in fact, differs from the croissant in that its dough contains egg, as well as higher proportions of butter and sugar.
EACH INGREDIENT HAS ITS ROLE: THE FLOUR
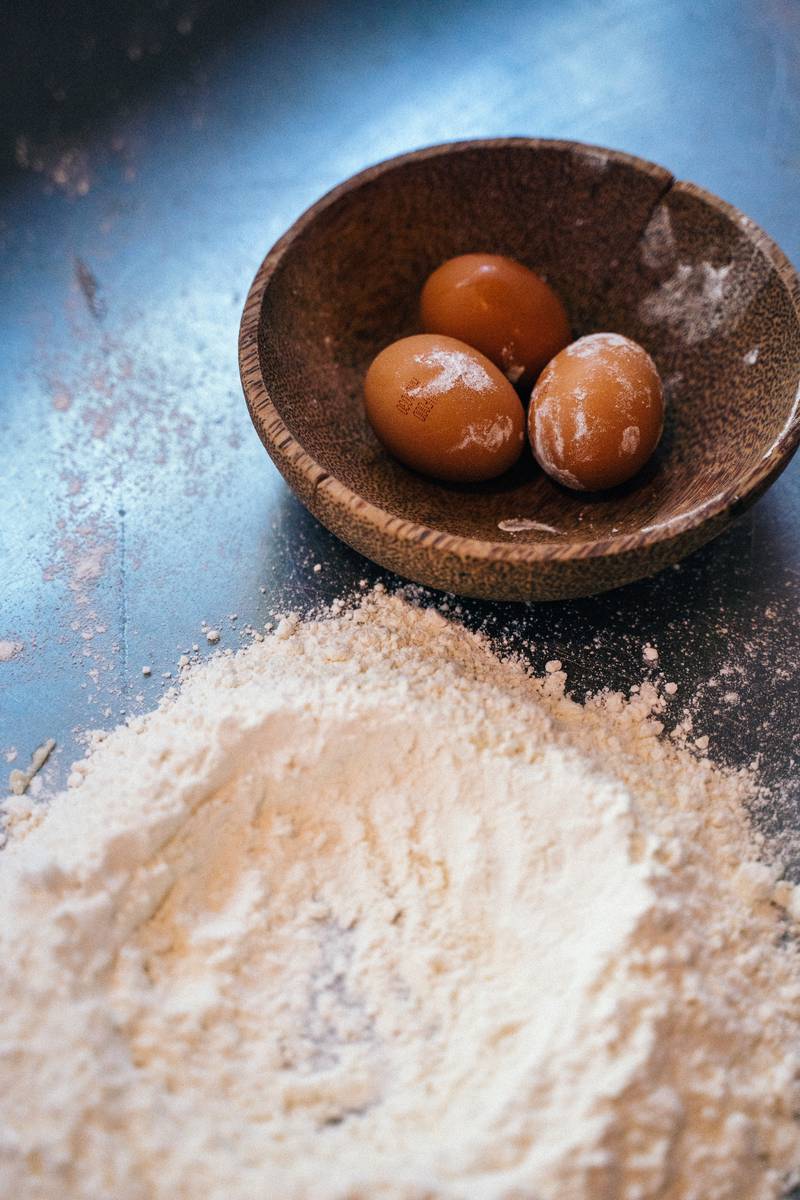
For leavened products enriched with ingredients such as butter, sugar or eggs, the most suitable flour is one with a high content of gliadins and glutenins: insoluble proteins that form gluten, an elastic structure that traps within the dough the carbon dioxide produced by yeast fermentation. The protein content that flour for leavened products should have is 14–14.5%, with a W of 300.
EGGS AND YOLKS
The role of eggs is to hydrate the dough and allow the flour proteins to bind to the gluten. In the preparation of leavened products, the yolk is normally preferred over the egg white, as it aids the formation of the dough and its structure thanks to its fat (32%) and lecithin (0.6–0.8%) content. What is more, when brushed onto a product that is to be frozen, the yolk increases its shelf life by preventing the surface from drying out, and it ensures an even colouring during baking.
SUGAR
Sugar is food for the yeasts in the dough: it helps the ingredients bind together thanks to its binding power, which comes from the viscosity it develops once it dissolves in the dough. If desired, the sweetening part can be replaced with honey in a proportion of 1–2%, which enhances the colouring during baking and the shelf life of the product.
THE FAT COMPONENT
The fat to use is undoubtedly butter, which gives the finished product a characteristic taste thanks to the 82% fat it contains. The role of the fat in leavened products is threefold:
- It gives the product flavour;
- It defines the structure;
- It increases shelf life.
The greater the amount of butter in the dough, the denser the structure of the baked product will be — for example, for a dough of 1 kg of flour with 20 g of yeast:
- 200 g butter > 2–2.5 h of rising
- 500 g butter > 4–4.5 h of rising
YEAST & LEAVENING
Yeast is the ingredient that drives the fermentation of the dough. During this process, simple sugars are taken up by the yeast cells, which produce carbon dioxide and cause the dough to swell.
The fermentation temperature of the dough is the real key to the success of a leavened product. If you want a product that develops aromas, you should let it ferment in a cold environment; but if you want the dough to rise — that is, for the yeasts to breathe and consume oxygen — the temperature must be between 24 and 27 °C. The final proofing stages are delicate moments in the process: the yeasts become more active as the temperature rises and slow down as it falls.
At home, in winter you can use a lukewarm oven with a bowl of hot water placed at the bottom, or you can put the products in tall containers and cover everything with cling film. This creates a microenvironment in which the yeasts themselves automatically generate humidity — so room temperature in summer and the help of a lukewarm oven in winter.
Blog by Enrico Gumirato, pastry chef and trainer


